This page describes how to install the Airwallex Online Payments plugin for your WooCommerce store.
Before you begin
↑ Back to top- If you have not done so already, submit information about your online store via the Airwallex web app > Payments page to enable Online Payments capabilities and apply for certain payment methods to be enabled on your account.
- Fill in all the required fields and send the PCI-SAQ-A form to your Airwallex Account Manager. If you are completing the process by yourself, please email the signed version to support@airwallex.com.
- Obtain your Client ID and secret API Key from the Airwallex web app > Developer > API Keys page for your installation configuration. Please make sure you obtain keys for the correct account if you have multiple accounts. For more information, see Manage API keys.
Step 1: Install the plugin
↑ Back to topFollow these steps to install the Airwallex Online Payments app for your WooCommerce store.
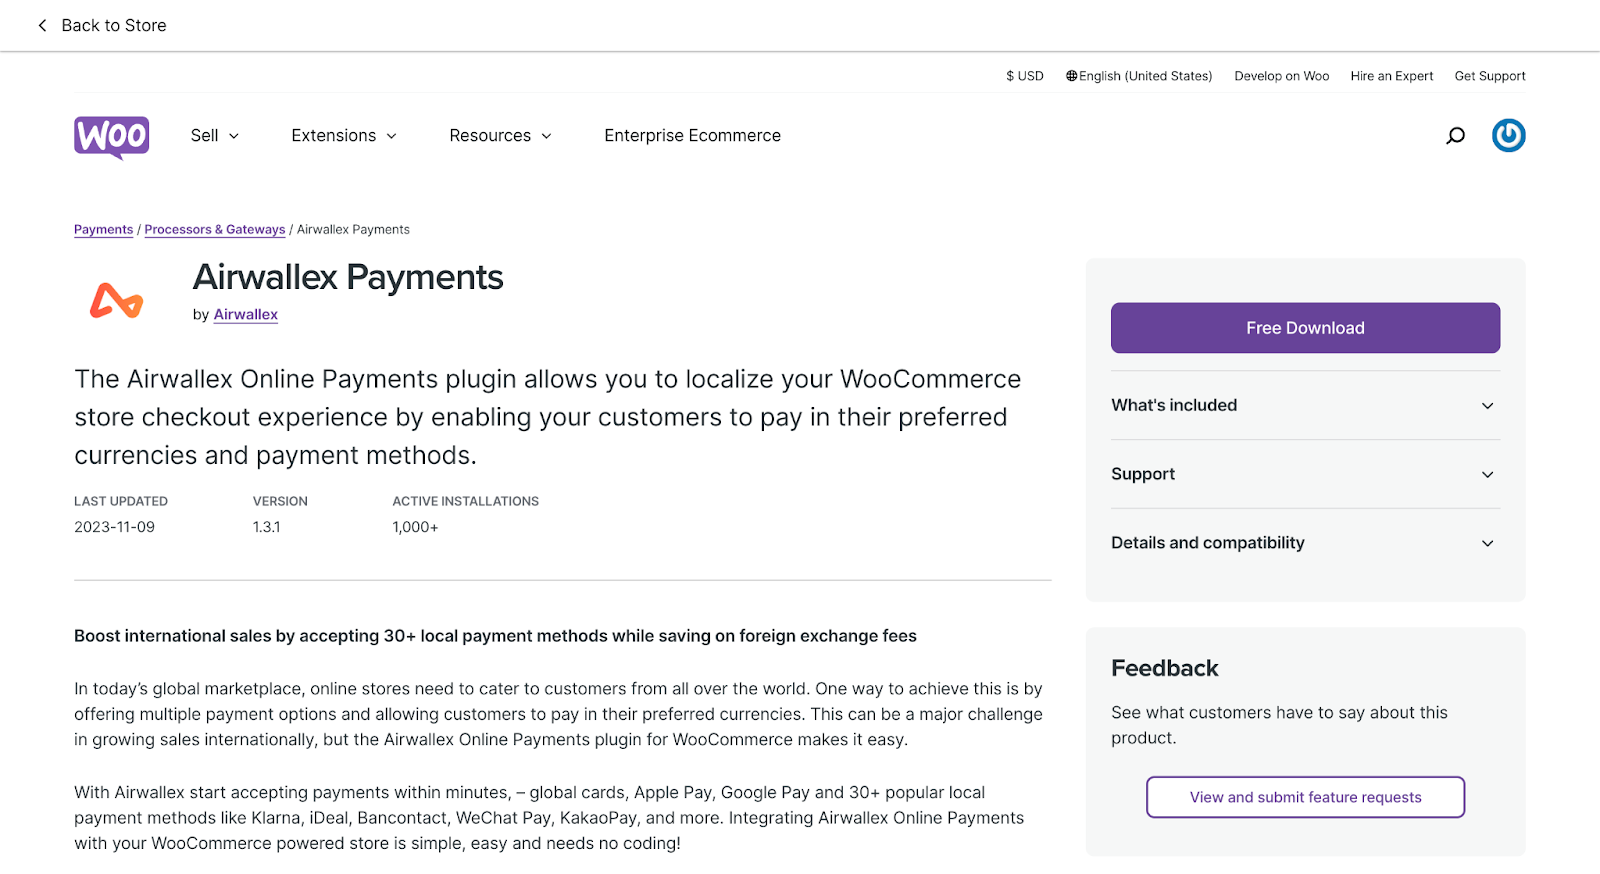
1. Go to the Airwallex Online Payments plugin or search for Airwallex from WooCommerce Extensions and click Download.
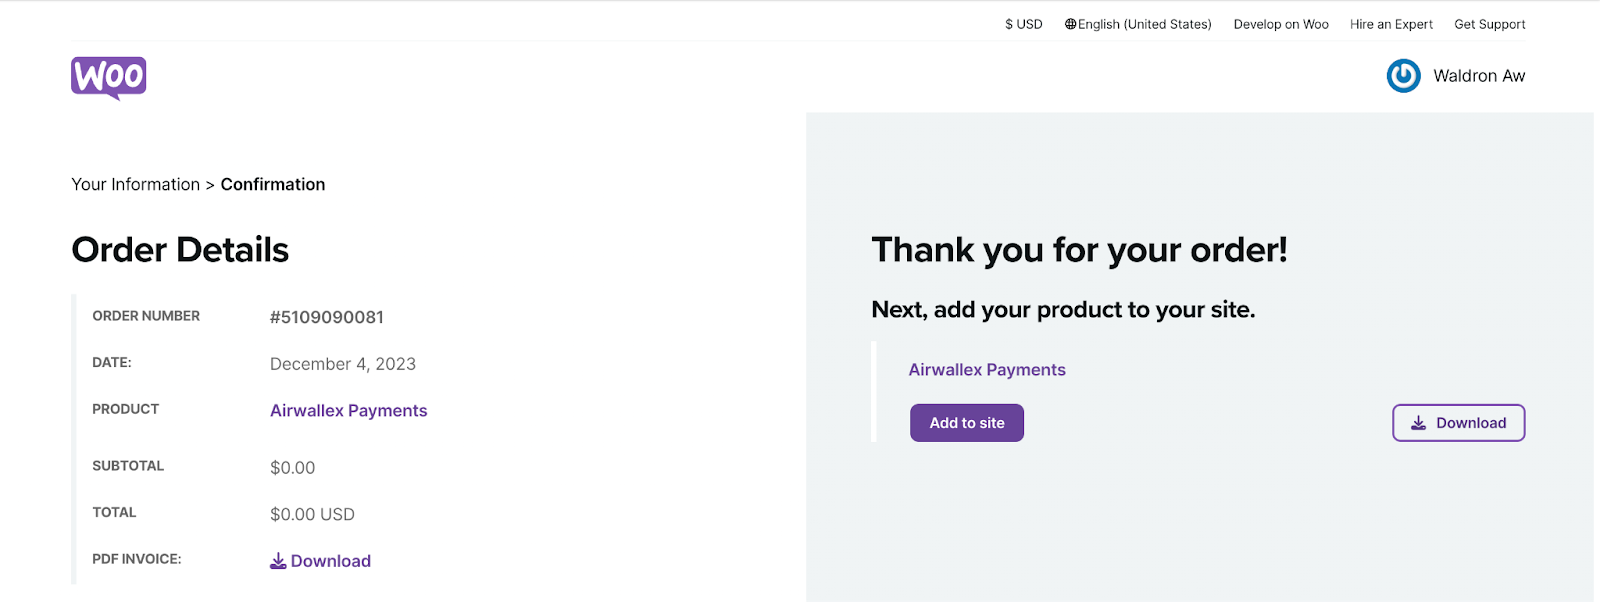
2. After completing the checkout process click Add to site
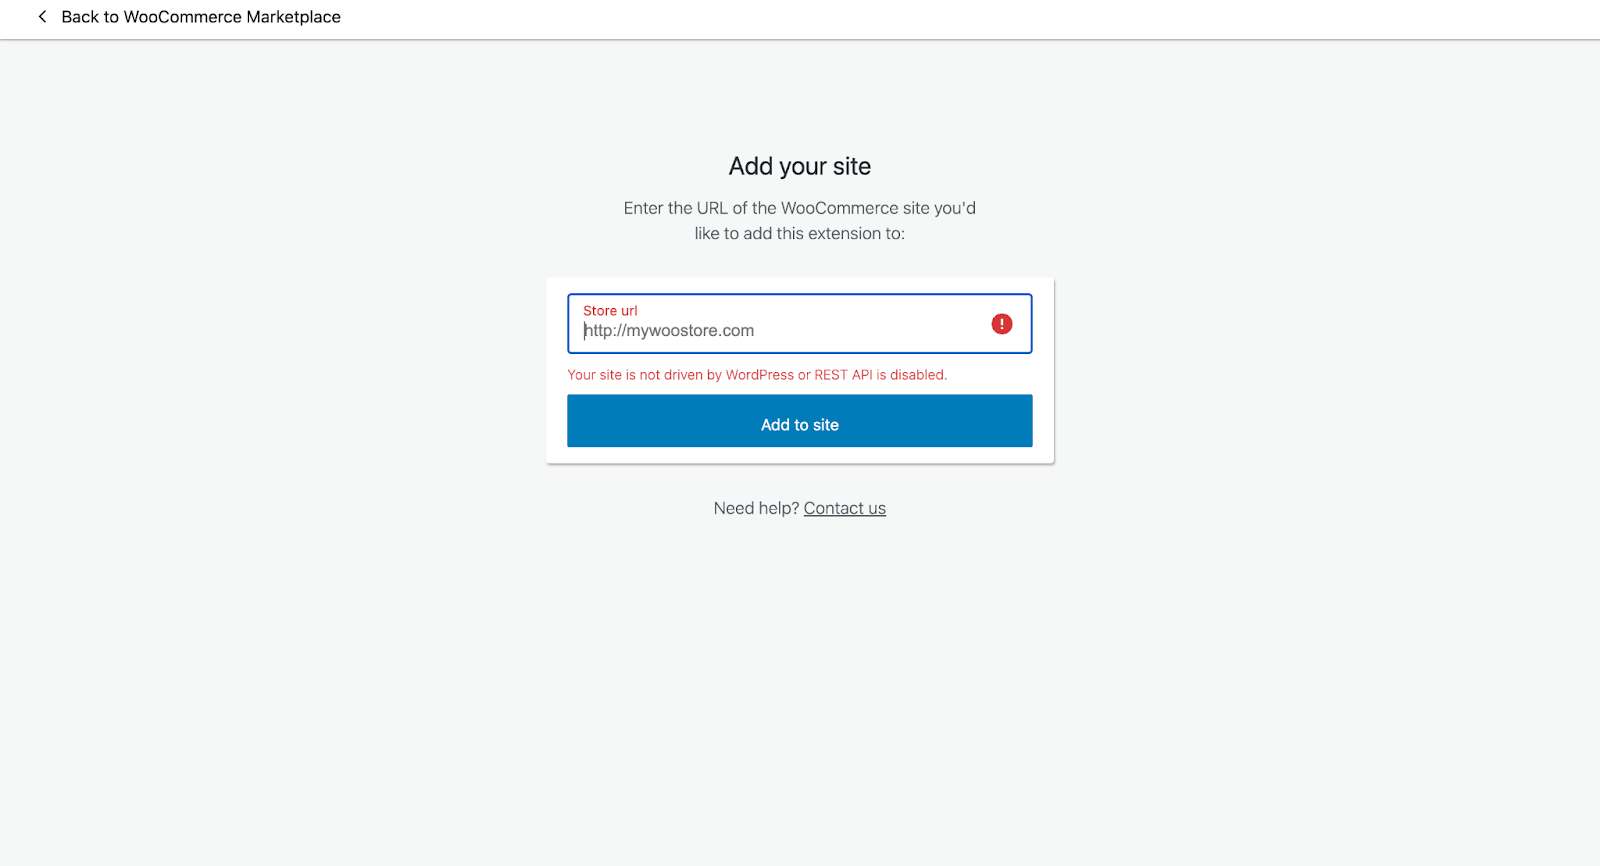
3. Add your website URL and connect your store to the plugin
4. Authorize the connection and your installation is complete
Step 2: Configure API settings
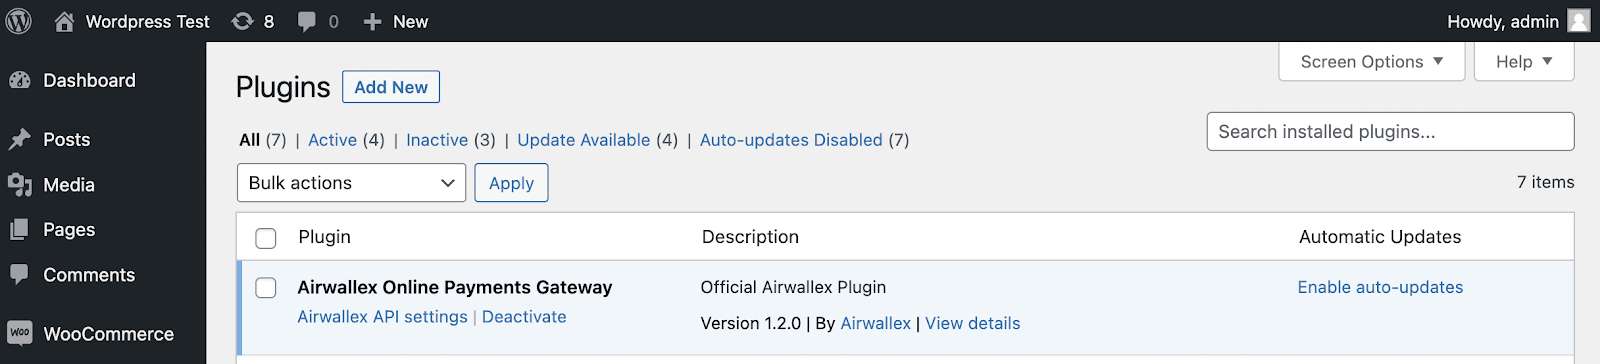
↑ Back to topAfter installing and activating the plugin, click Airwallex API settings to configure the authentication details.
Enter your Client ID and API Key from the Airwallex web app > Developer > API keys page. We recommend that you use a restricted API key to authenticate to the WooCommerce plugin. For information on restricted API keys and how to create them, see Restricted API keys.
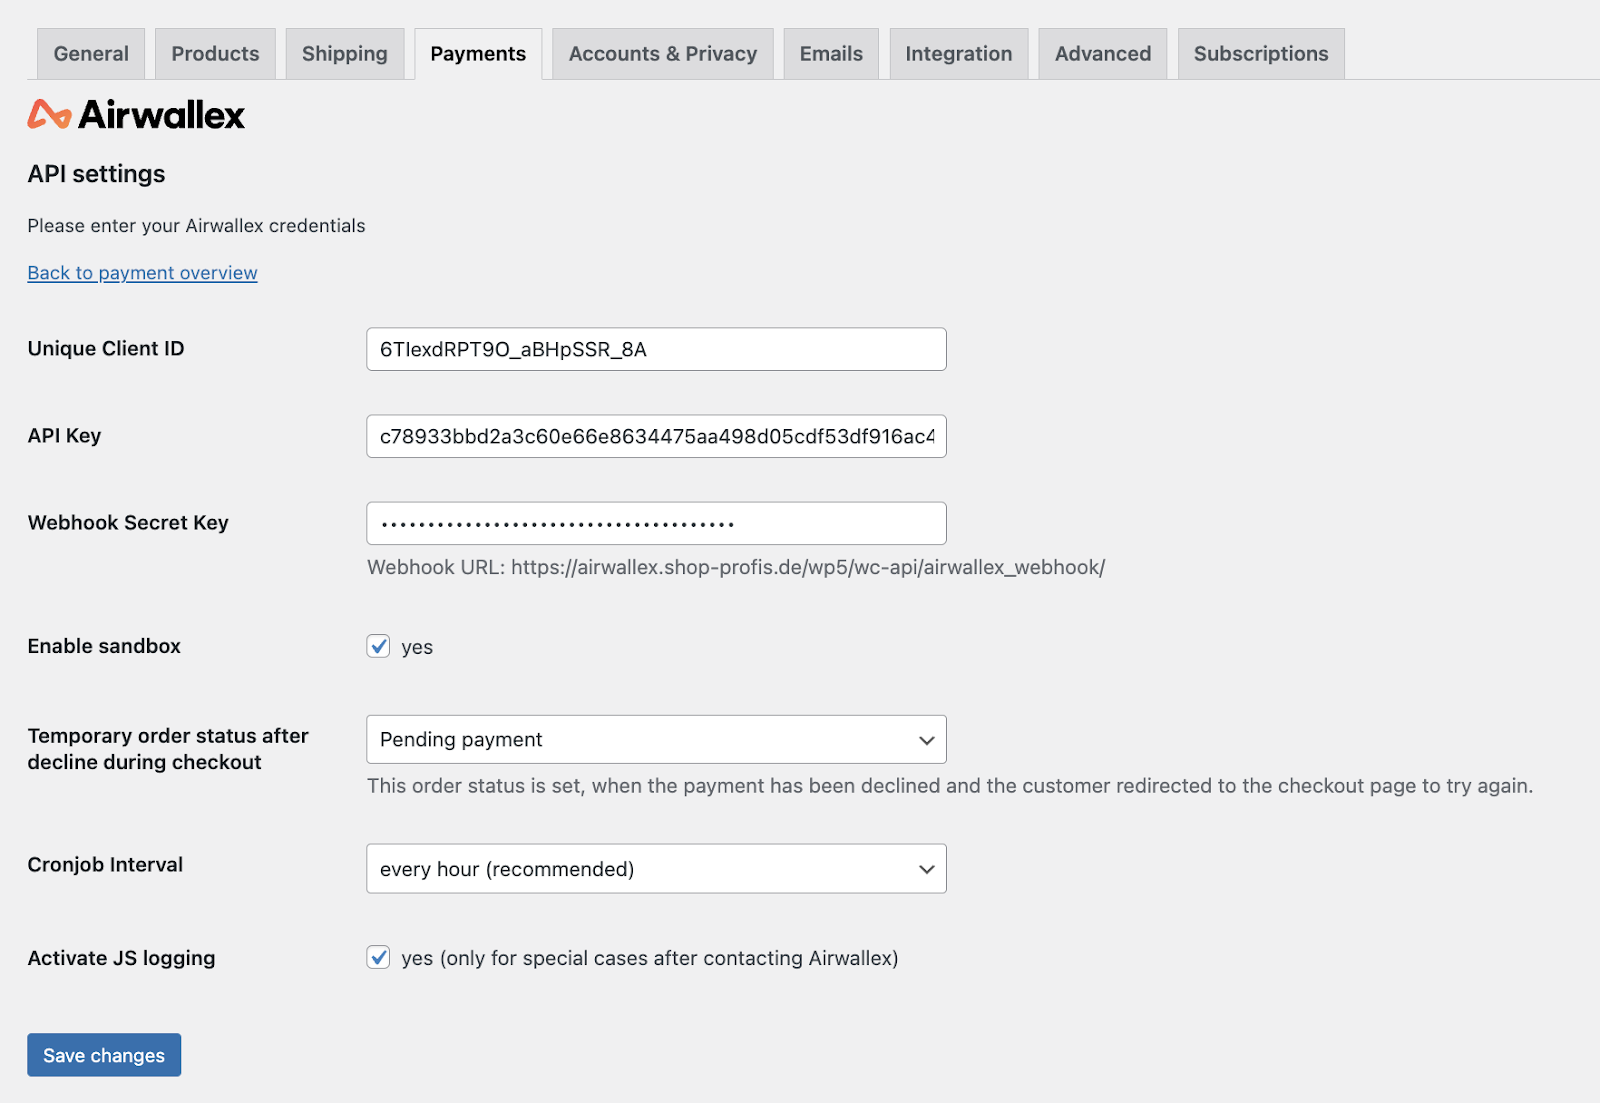
Subscribe to our webhook events with the url displayed and add the webhook secret key to this screen. Follow instructions for webhook configuration.
Test mode (Sandbox)
↑ Back to topSelect Enable sandbox when you are using a demo Airwallex account’s Client ID and API keys to test transactions on your WooCommerce store.Note that you must use your demo account details (Client ID and API key) in your API settings for sandbox testing.Airwallex provides a sandbox testing account on an as-needed basis. Please contact support@airwallex.com to request a demo account for testing. Provide your Airwallex registered company name and the payment methods you want to test using the demo account.
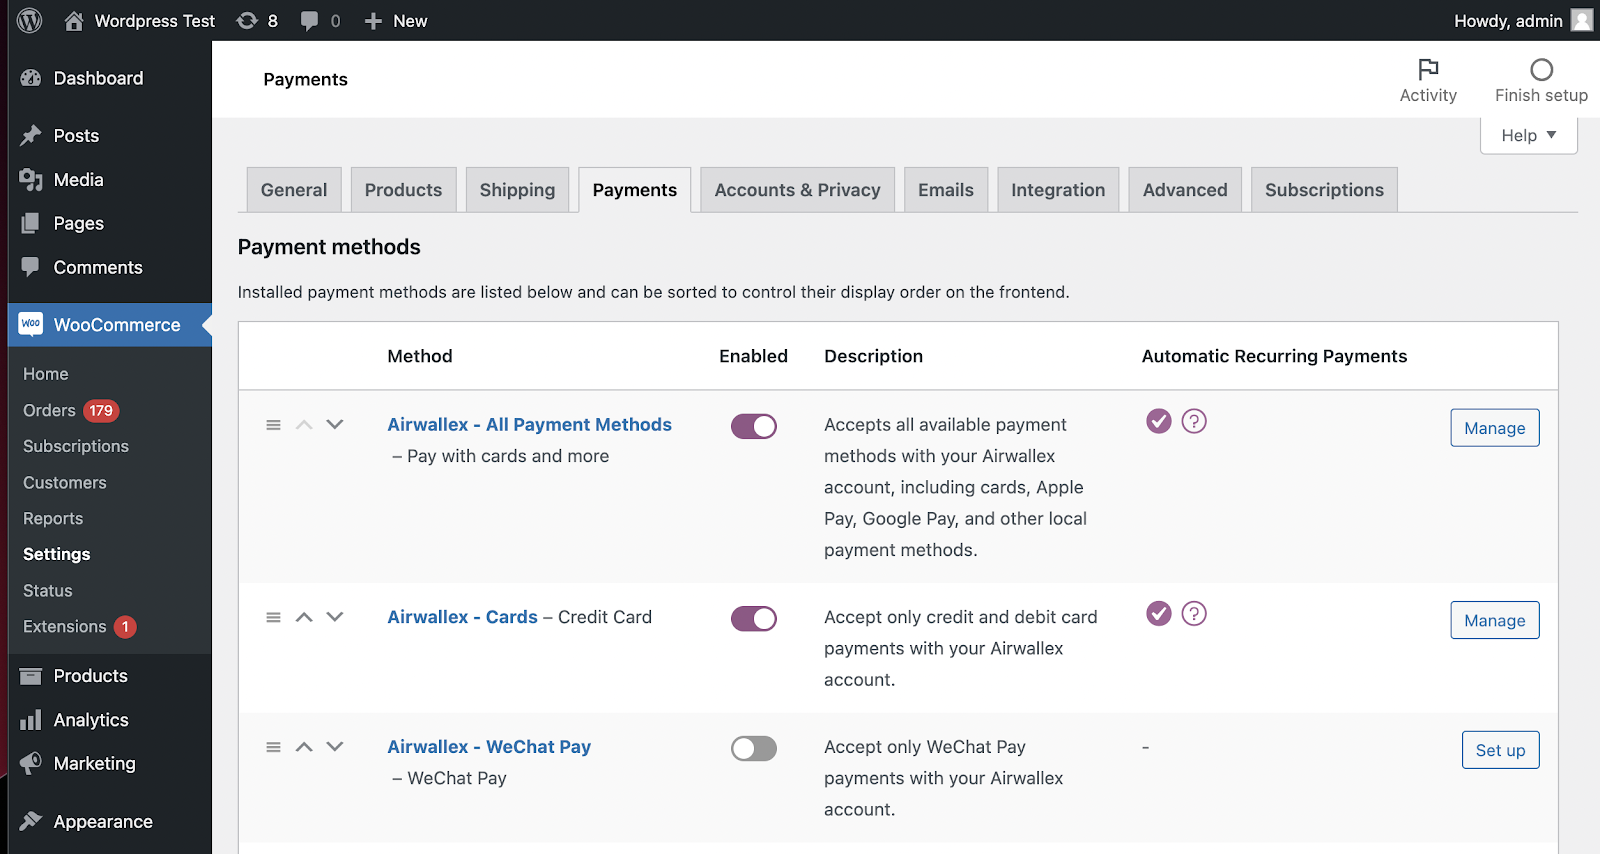
Step 3: Enable and configure payment methods
↑ Back to topClick Payments or Back to payment overview to see the different ways you can configure your checkout experience. Choose which one to configure based on the payment methods you want to support and the checkout experience you want to provide.
Airwallex – All Payment Methods
↑ Back to topThis method allows you to provide all the payment methods enabled on your Airwallex account on your WooCommerce store checkout, including cards, Apple Pay, Google Pay, and other local payment methods. It also enables your customers to save a card number on file for future checkouts.This is the most recommended method if you want to offer payment methods other than just cards and want to offer a speedy checkout for repeat customers.
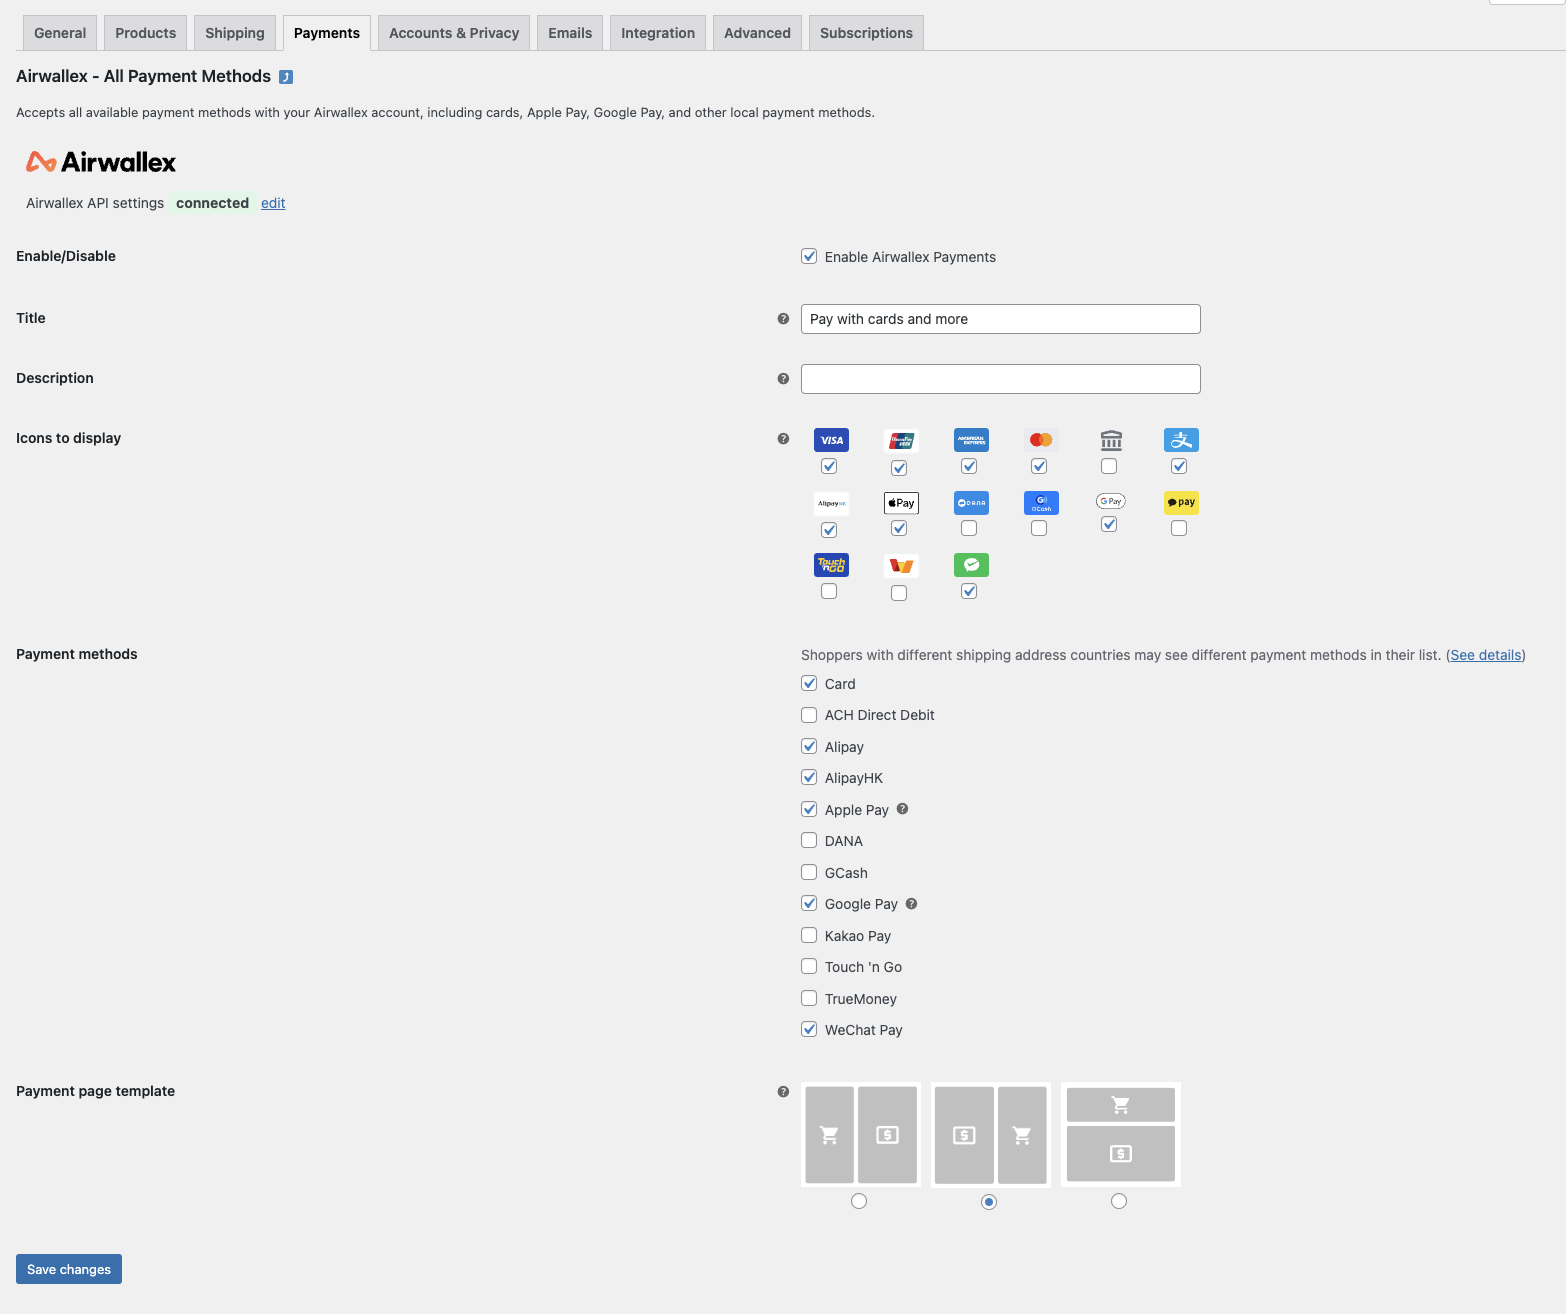
To set it up:
- Select Enable Airwallex Payments to enable this method.
- Enter the payment method name and description to be displayed on the payment page in the Title and Description fields.
- Once you have configured your API key authentication details, you will see the list of payment methods activated on your account show up in both the Icons to display and Payment methods sections.
- Select which payment method Icons to display and choose which Payment methods to enable on your WooCommerce store checkout.
- If you are enabling Apple Pay and Google Pay for the first time, please follow the additional set up instructions in the Airwallex web app > Payments > Settings > Apple Pay or Google Pay.
- Select the Payment page template for how you would like the checkout module to appear on your checkout page (either side by side to or below your cart information).
- Click Save changes to save your configuration.
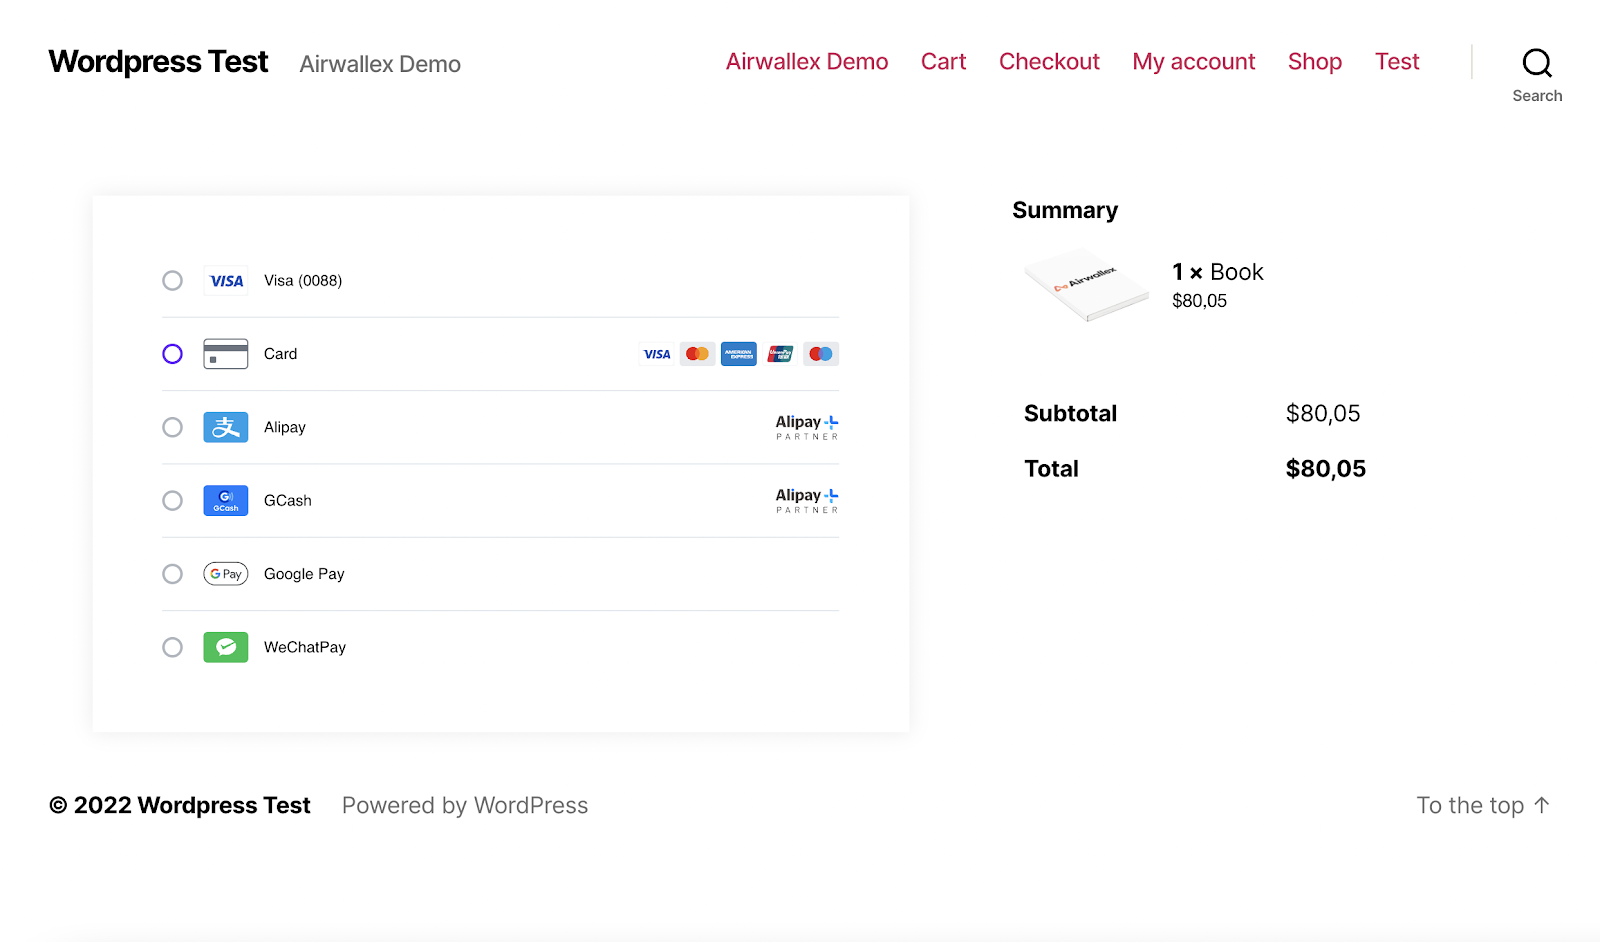
Checkout experience
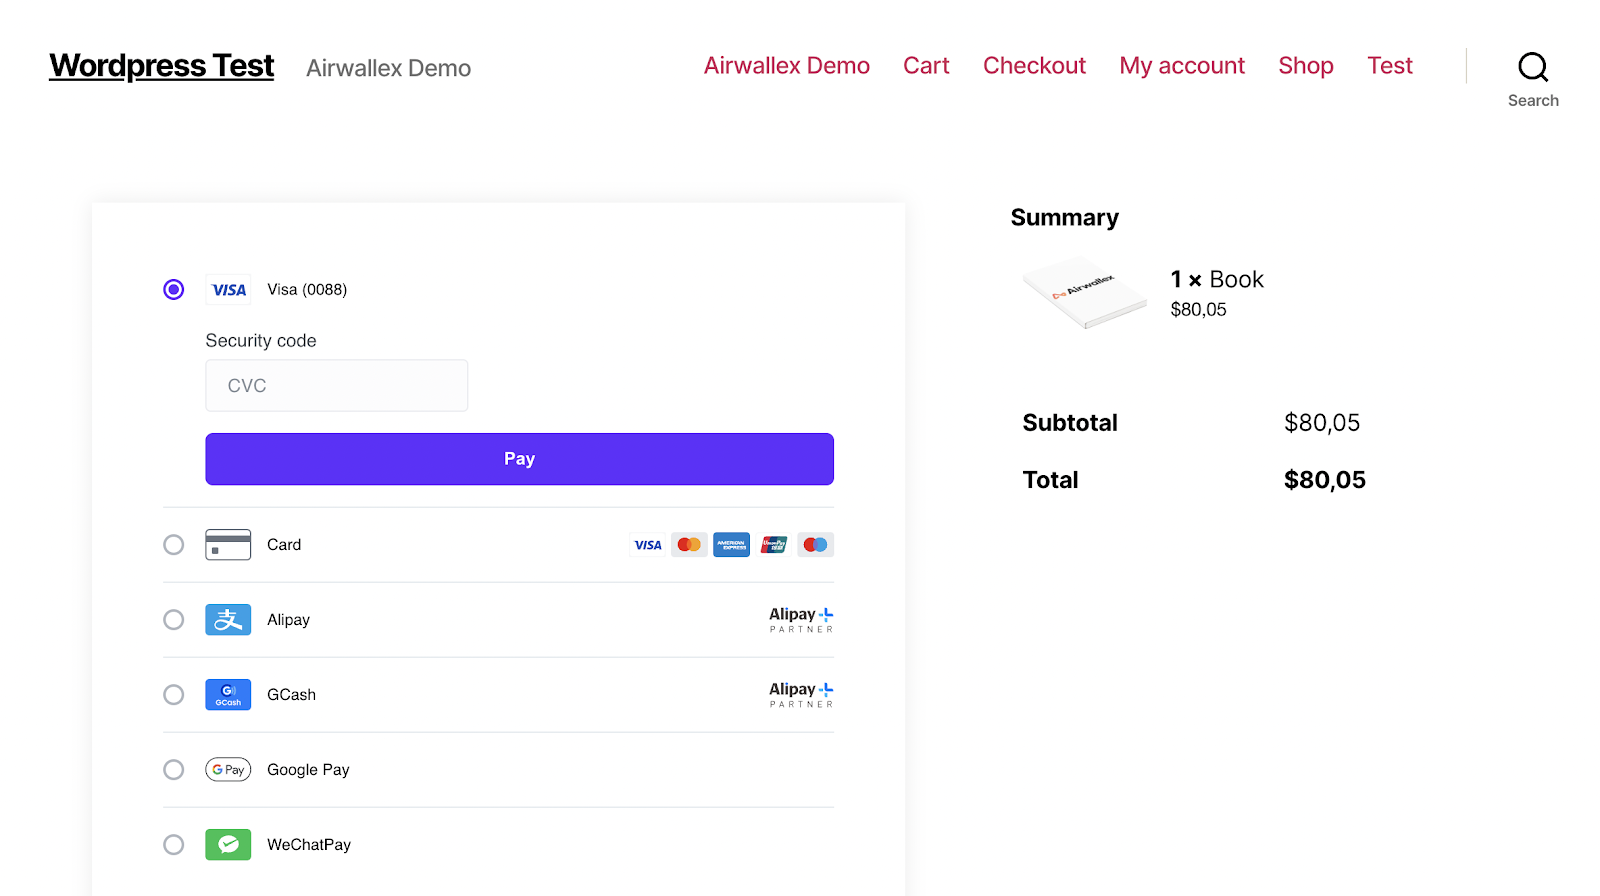
At checkout, your customer will see the payment method appear with the title, payment method logos, and description you configured.

Once the payer selects this payment method and clicks Place order they can select a payment method and proceed.
When the payer is checking out while logged in, they can select Save my card for future payments box to save their card details.
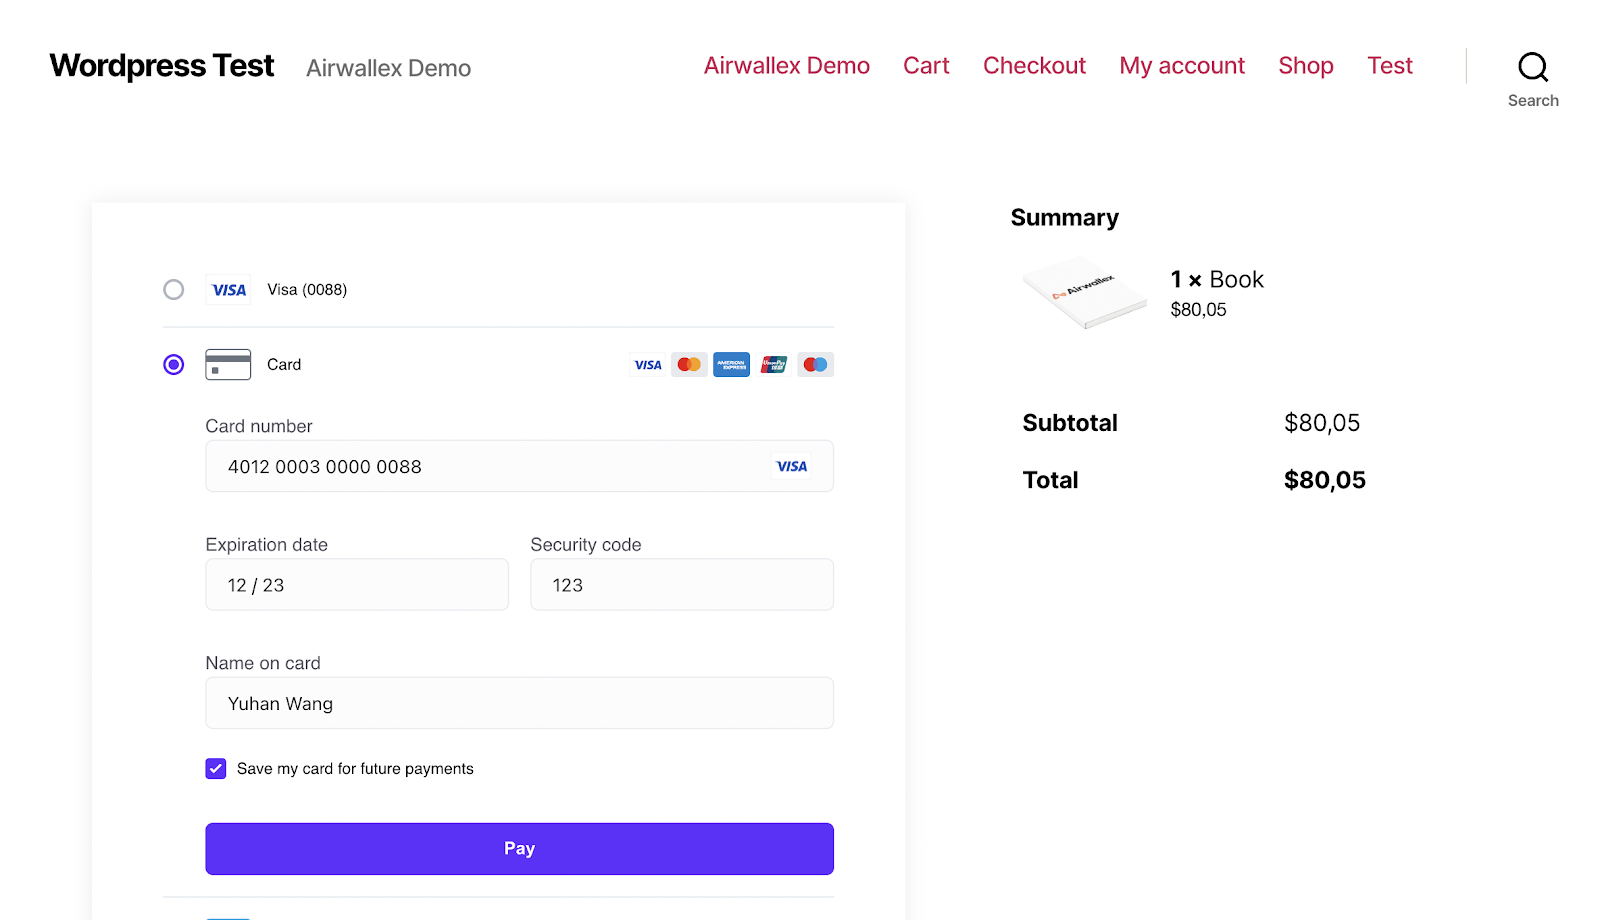
The next time they checkout, they will see the saved card as a payment method. They can skip the step of re-entering their card details and checkout faster by only entering their CVC number.
Airwallex – Cards
↑ Back to topThis method allows you to provide debit and credit card payment methods on your WooCommerce store checkout in an embedded manner. This is recommended for people who only want to offer cards and don’t want an additional click involved in the checkout process.
To set it up:
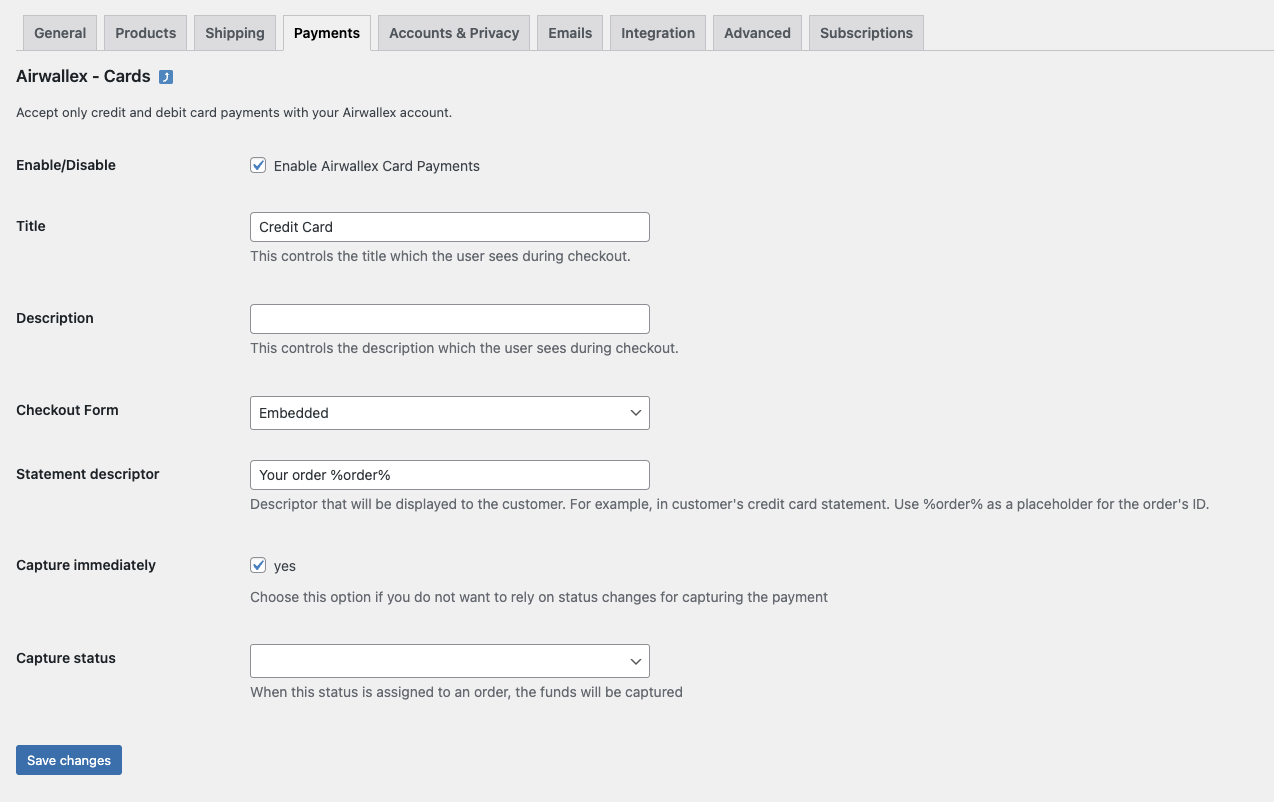
- Select Enable Airwallex Card Payments to enable card payments.
- Enter the payment method to be displayed on the payment page in the Title field.
- Select the checkout form as Embedded capture immediately to capture the amount as soon as the shopper pays.
- Fill in any other relevant configuration. Click Save changes to save your configuration.
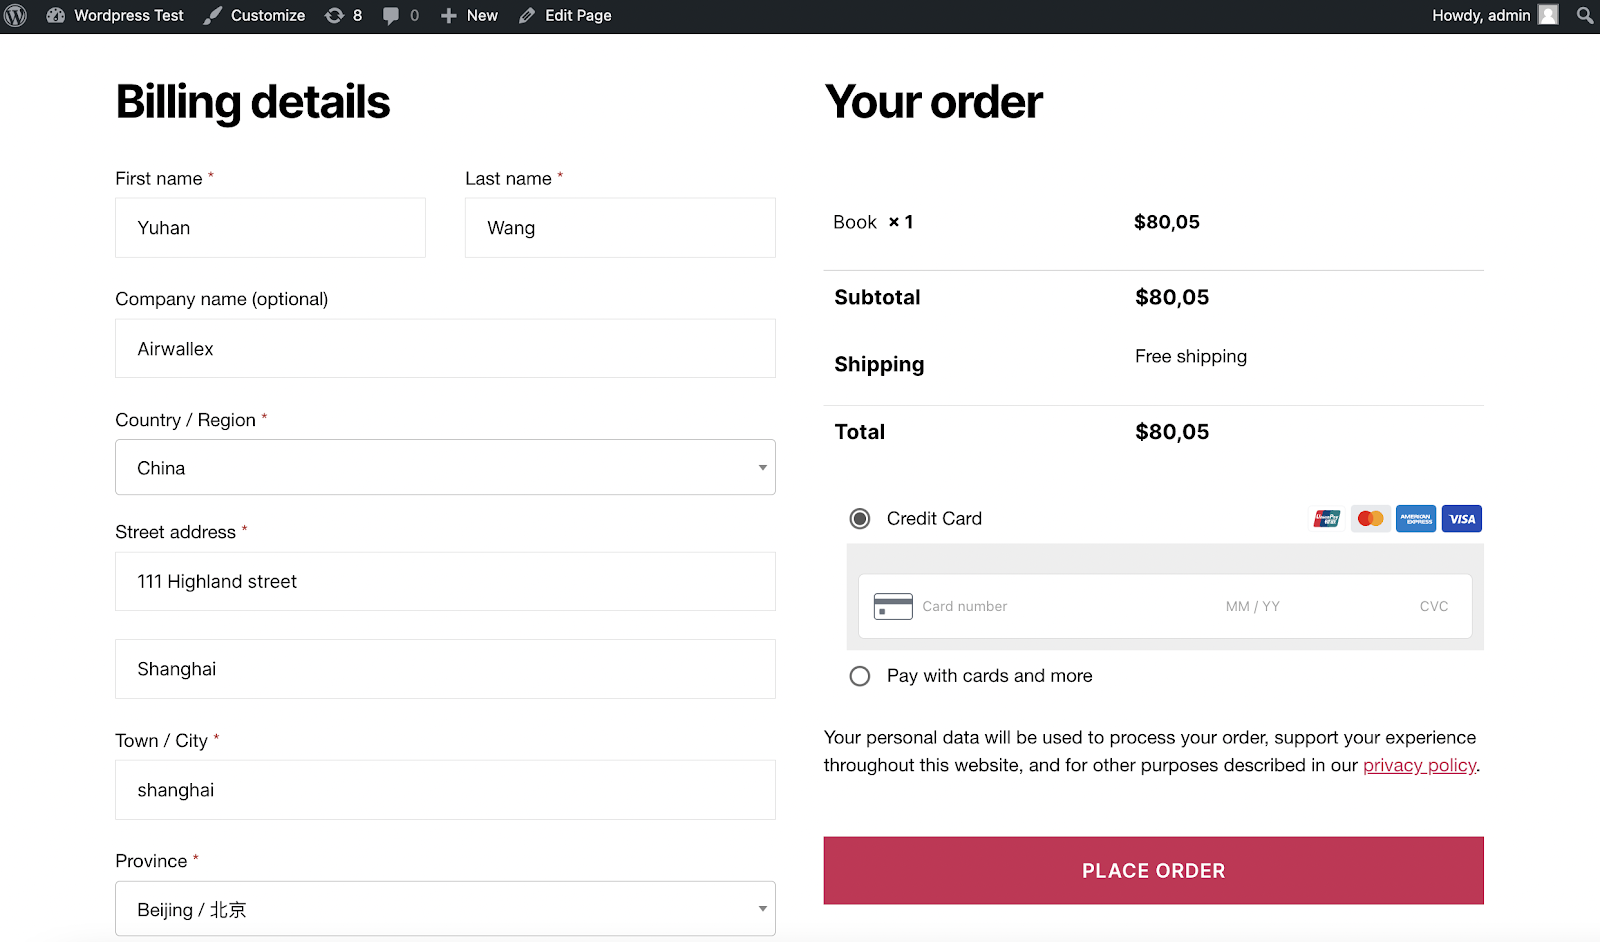
Checkout experience
When checking out, your payer will see the Credit card option with all the logos of card schemes enabled on your Airwallex account including Visa, Mastercard, American Express, and UnionPay.The payer can enter their card number, expiration date, and CVC to pay.
Step 4: Test the plugin
↑ Back to topYou can simulate an end-to-end payment experience by submitting a test transaction in your WooCommerce store. To process live transactions, please ensure you have turned off the test mode (sandbox) environment.If you encounter any unexpected behavior, first check your configuration against these steps and retry. Contact support@airwallex.com if you need any help.
Additional configuration
↑ Back to topWebhook configuration
↑ Back to topConfigure webhooks for your WooCommerce plugin custom callbacks.
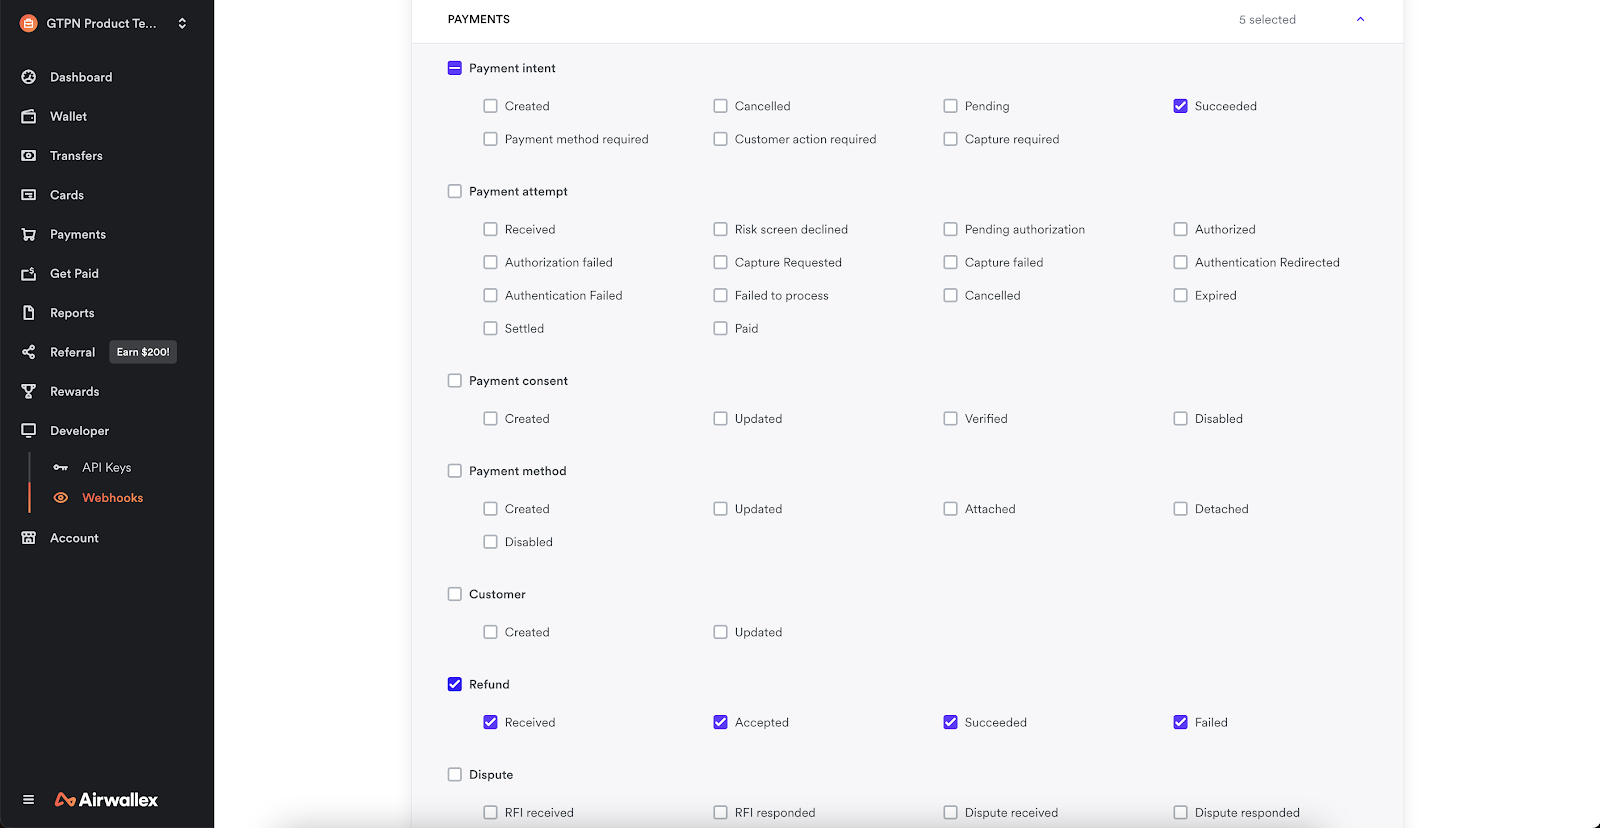
- Log in to Airwallex web app > Developer > Webhooks.
- Add a webhook by specifying your notification URL and selecting the relevant webhook events for your business operation. We recommend that you subscribe to the following webhook events as shown below.
Risk configuration
↑ Back to topConfigure risk for your business using these steps.
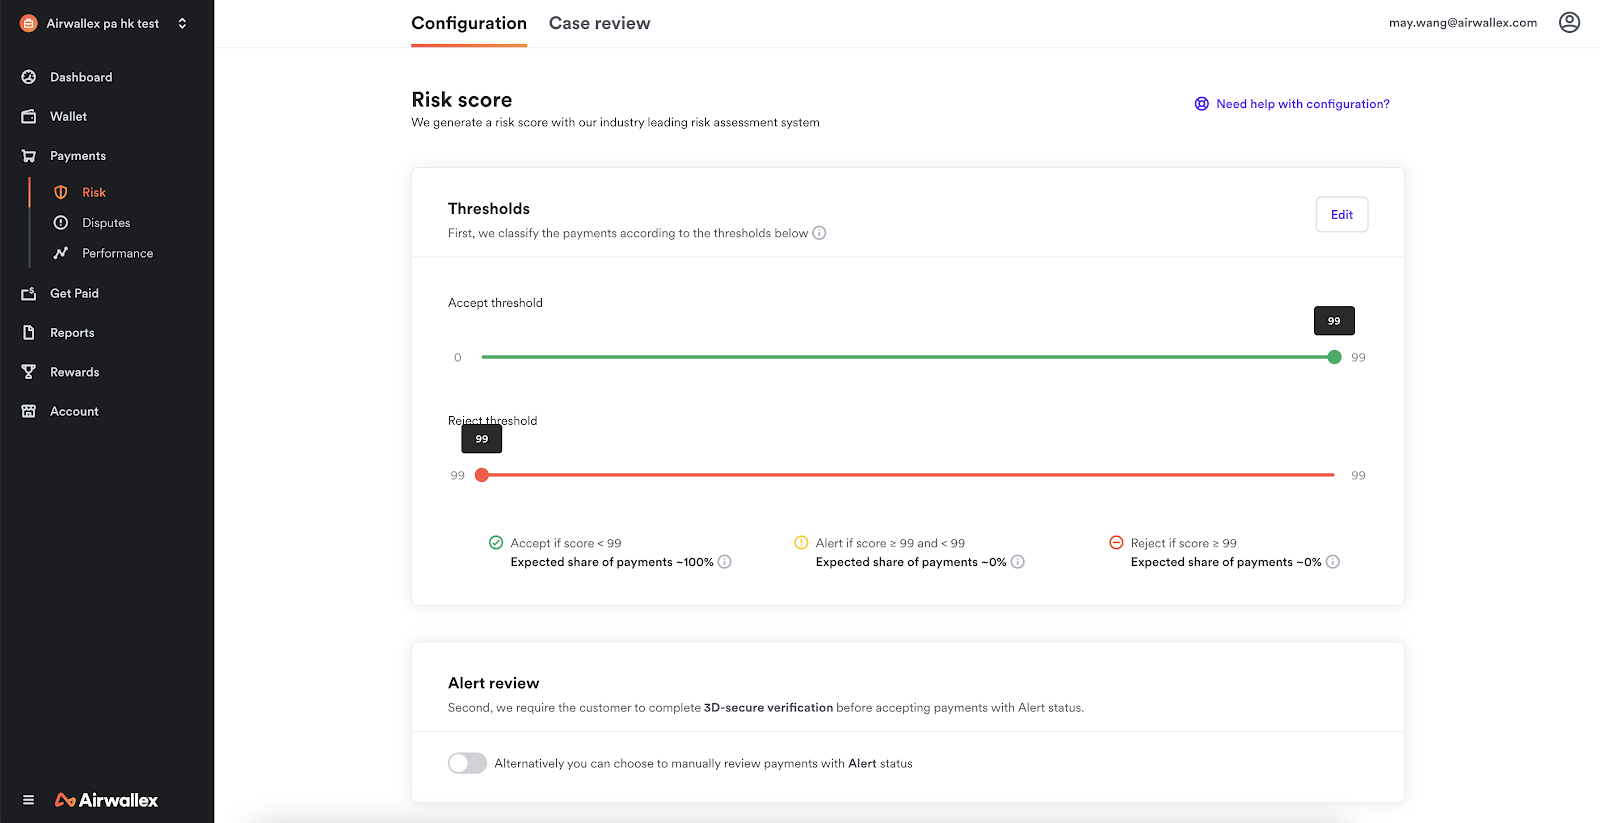
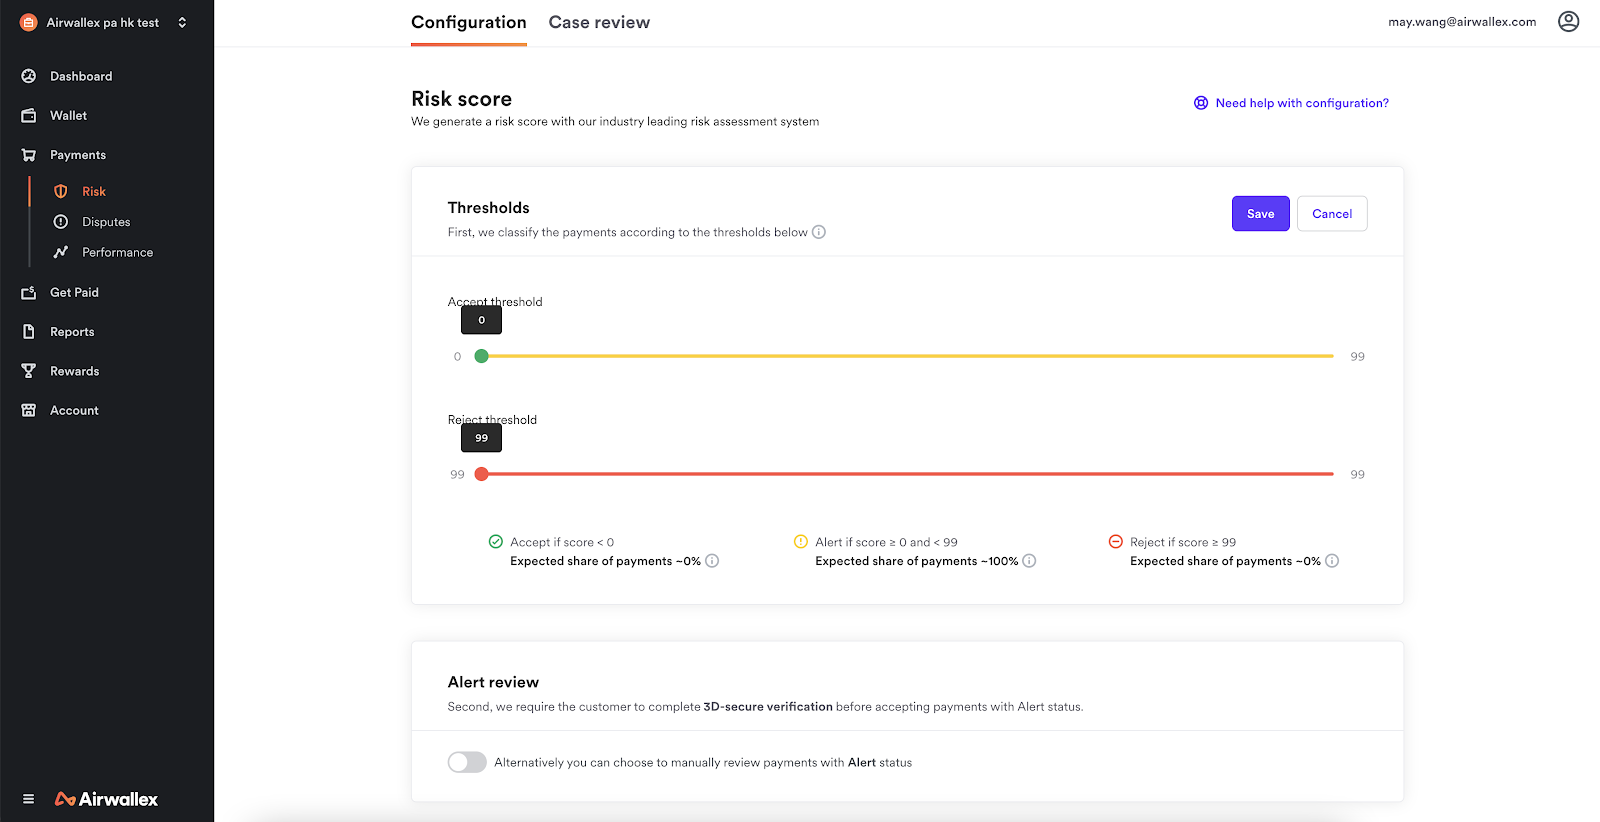
- Log in to your Airwallex web app > Payments > Risk.
- Alter the risk score threshold to trigger risk assessments for suspicious transactions.
Theme Compatibility
↑ Back to topDue to some customised themes, checkout pages may not render properly. If this happens to your site
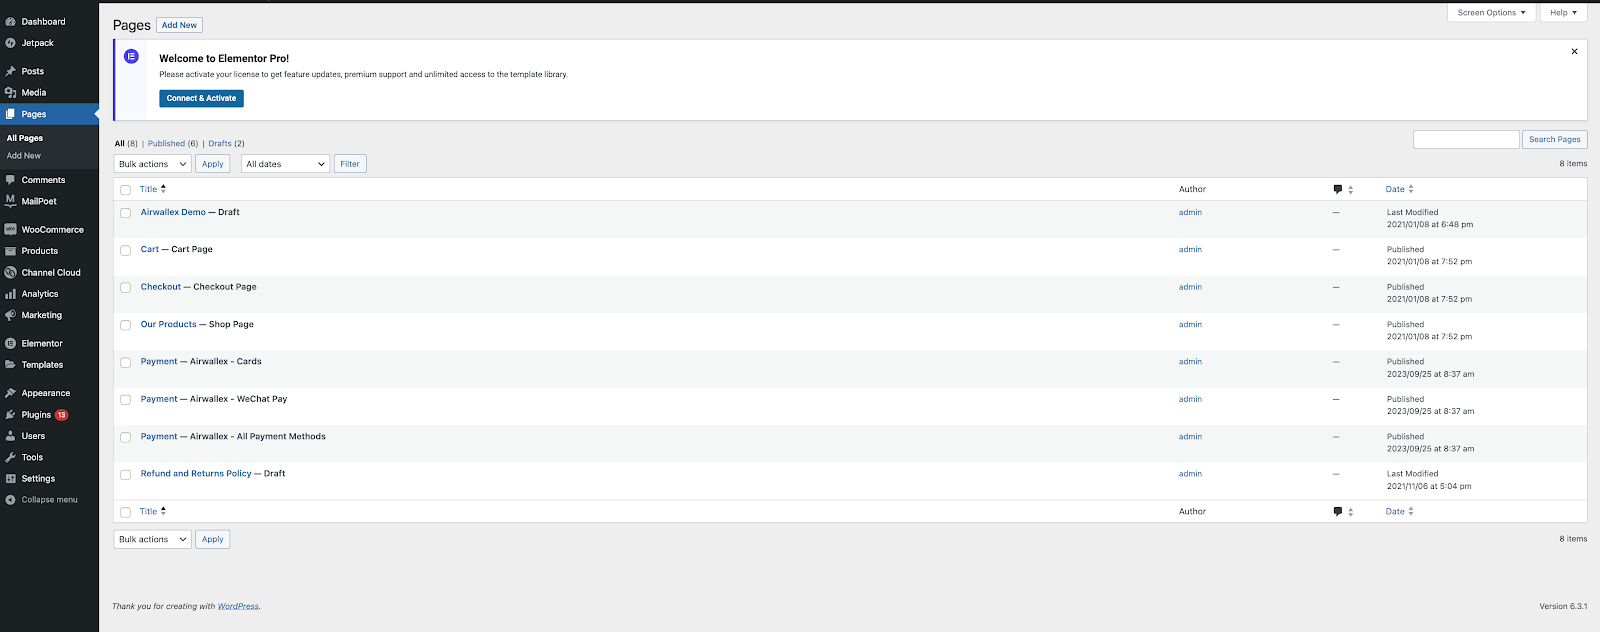
- Please go to your wordpress admin site and select Plugins. Select Airwallex API settings under Airwallex Online Payment Gateway
- In the API settings page select WordPress Page Shortcodes under Payment Form Template
Airwallex checkout pages will be created as official WordPress pages under your pages. This will allow the payment elements to be embedded within your theme. You can also customise each of the pages accordingly under Pages in the admin panel
- Test your checkout page again
- If compatibility issues persist, please reach out via your Account Manager and we will be more than happy to assist.